
While back in Somniel again, the Wyvern Ride has a new difficult level to try out, you can choose the Hard level to test yourself.
The next chapter battle recommended a level of Advance Class 7 or at least in level 27. There are no new Paralogues chapter to take so get your chance to level up in some Skirmishes with your team units for training.
Before entering the battle, make sure that there are some of your team units that equipped the proper weapons like anti-dragon such as Wyrmslayer and anti-cavalry weapon like Ridersbane or Rapier, although Alear is already equipped with Rapier. As for the Emblems, make sure that Emblem Corrin is equipped with one of your team units since the map in the upcoming battle is full of Miasma, Emblem
Corrin’s Dragon Vein will be useful to removed Miasma on tiles. Flying team units are also useful in this battle because there are no archer enemies that your flier’s are vulnerable, you may not need more
archer team units also in this map because there is no flier enemy to take down.
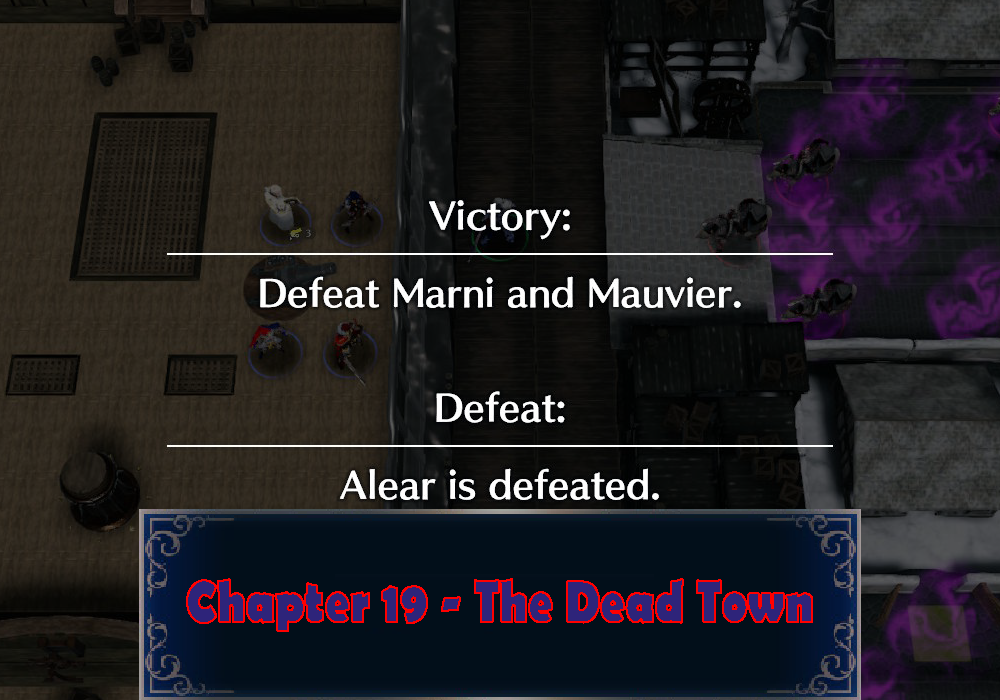
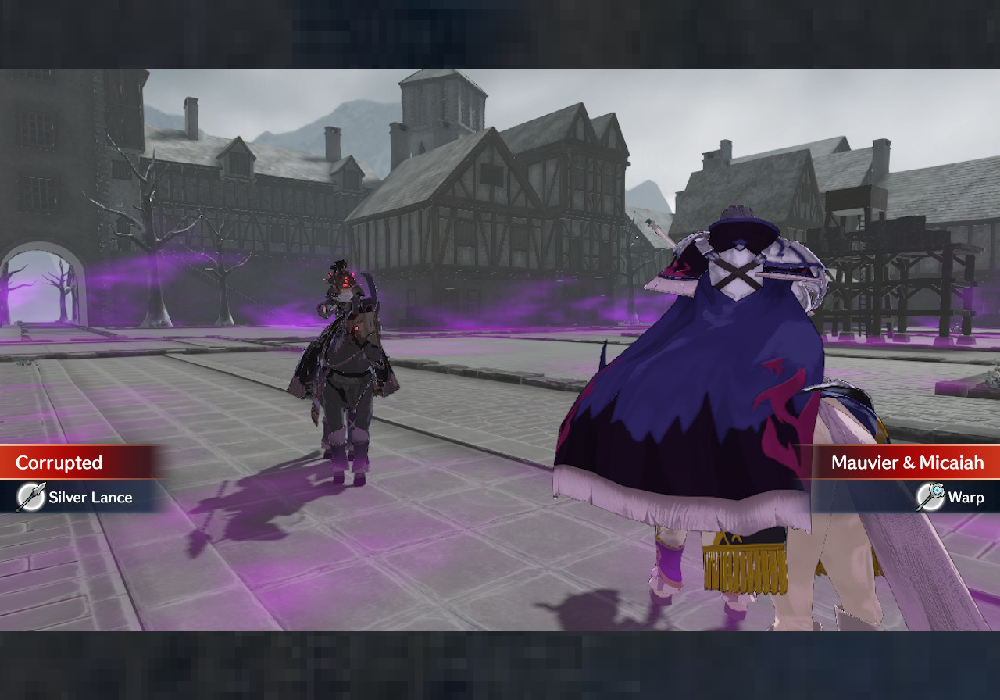
In this fight, your goal is to defeat Marni and Mauvier, you lose the game if Alear is defeated. Marni is equipped with Emblem Roy while Mauvier is equipped with Emblem Micaiah.
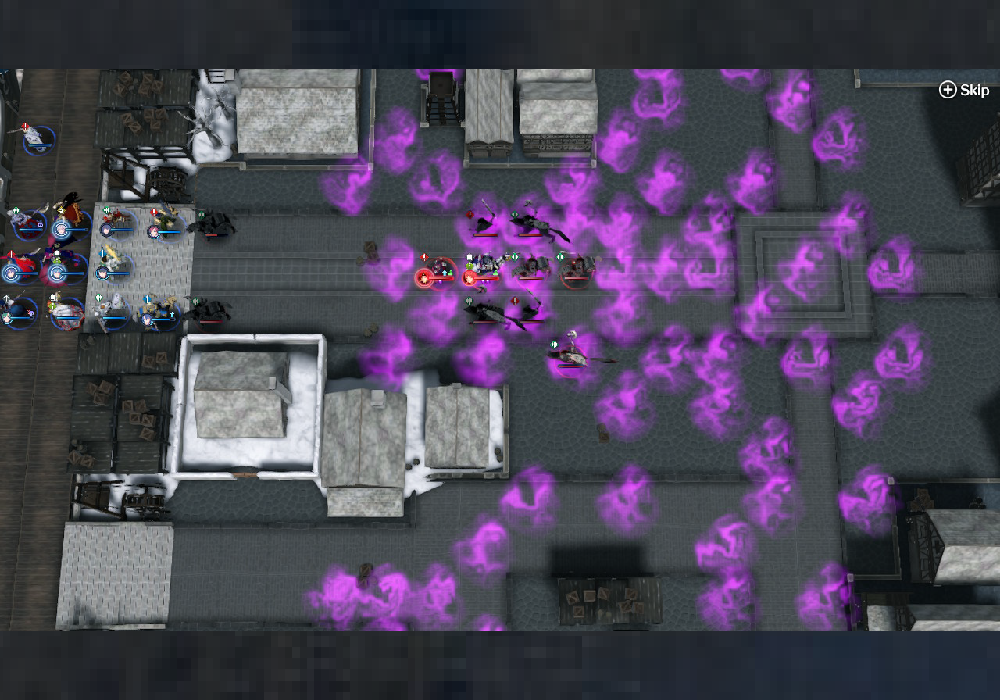
The map is full of Miasma tiles, and there’s a lot of corrupted enemies around the area. Your team units will be divided into three section from north, in the center and in the south area, each group
have a Flame Cannons to be use but unfortunately, you can only use each of it in three rounds, but luckily, each round can removed the Miasma permanently in an area where it hit by Flame Cannons.
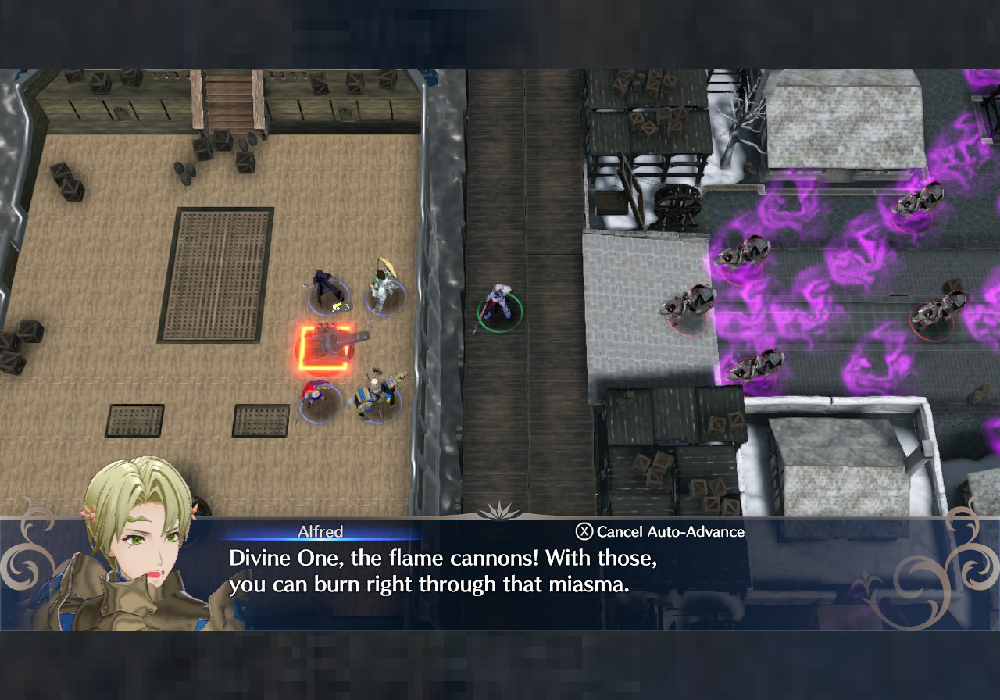
Since your Flame Cannons have limited range and a few shots only, use it wisely. When taking a shot on Flame cannons, you obviously wants to hit the enemies by it but more importantly, you wanted to clear
the Miasma so you can fight fairly on the ground with the enemies.
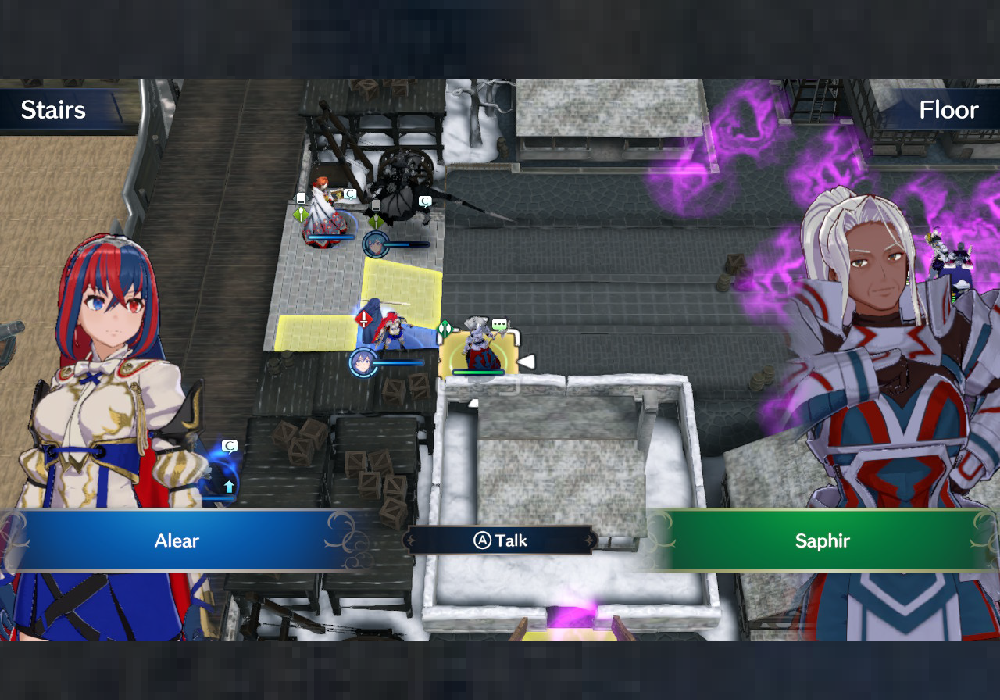
A new character named Saphir will be shown up, she will be position in the center of the map, just near where your position starts. If you have the chance to get near to her position, Alear, Prince Diamant and Alcryst can recruit her by choosing the Talk option in the menu.
When the battle begins, Mauvier will likely to start the fighting by Warping enemies to Saphir’s position. The corrupted enemies that Mauvier has been warp can heal themselves when they are hit by Flame Cannons. Send team units back up for Saphir to take down these enemies.
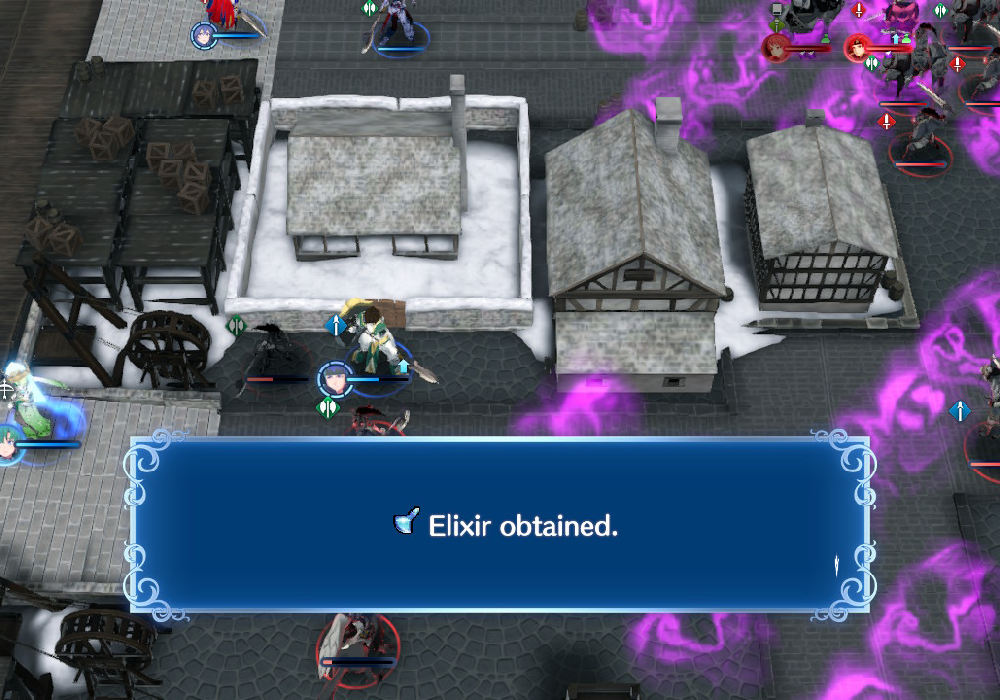
On the south part of the area, if you cleared the miasma by using Flame Cannons, you can have an access to the house safely, but unfortunately the house will presented three corrupted enemies, but one of these enemies with the green pouch icon will provide an item Elixir if you defeat him.
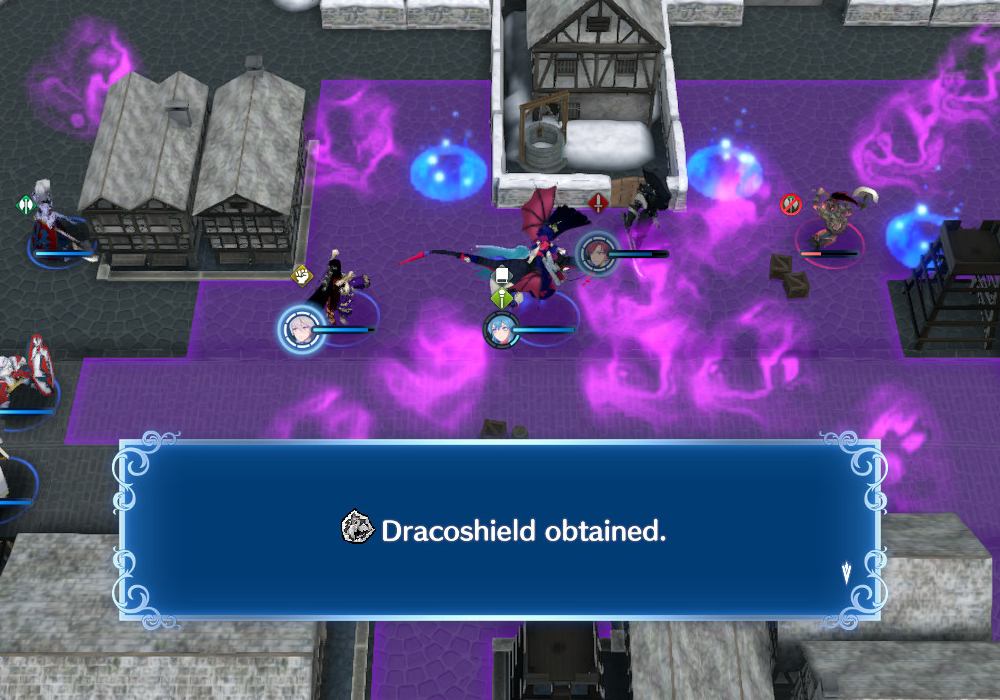
On the north part of the map, there is a similar house that you can visit and will also presented three corrupted enemies and one of them is also carrying a green pouch icon with an item Dracoshield, you will obtain the item if you defeat the enemy.
Fighting the three corrupted enemy that’s been summon from the house will be a bad idea if you are alone, so try to bring back up if you visit the houses or you can just leave the houses and fight them back later if you want to get the items.
Stay on the front lines for now and don’t move to far ahead, enemies from the north and in the south area will come approach you including the enemies in the center of the map, defeat them all. Mauvier will keep
warping enemies on your position, defeating them will stop Mauvier from warping and repositioning enemies near you. If you are struggling to take down the Warping enemies that attacking your vulnerable team units, placed a group of your team units that can do close combat or can counter-attack to block the warping enemies to attack your weak team units. Mauvier will continue warping enemies in the center area of the map so placed your tough team units to the center and it will be helpful to block their paths to get close to your weak team units and to take them down. Pay attention to the north and the south areas, as enemies will advance forward to get close and attack you. Always make the enemies come to you instead of charging to them since fighting the enemies in a miasma area is a disadvantage to you and to your team units. A few more enemy reinforcements will occasionally appear in the background. Fighting them outside the miasma is the best option.
A corrupted Wyrm will then take their turn and will start moving near your allies, stay away from its range as far as you can. When the corrupted Wyrm left the miasma area, you can take your turn to attack it using your team units that loaded with anti-dragon weapon like Wyrmslayer (Prince Diamant is equipped with this weapon so you can use him to attack) or if one of your team units is near and is engage with Emblem Eirika, move close to it and attack the corrupted Wyrm, it can deal a massive damage to it. After clearing the enemies from the north and south, gathered all your team units and focus on the center of the map, lure the armored cavalry enemies by positioning your armored team units on the danger radius then defeat all the enemies that will come forward to you.
Mauvier will warp Marni in his area for the reinforcement, Marni then will start to make her move together with the other enemies and Mauvier will continue Warping corrupted in front lines to attack you, Continue defeating these enemies until the numbers of it decrease. Placed another team units near the danger radius to lure Marni, just make sure your other team units are outside the Danger Radius to avoid Marni’s Blazing Lion attack. On the other hand, just keep waiting and baiting enemies near you even though more enemies will shown up from the east part of the map. After some time, Mauvier and Marni will be lured to your position, Marni will then start attacking by using the Blazing Lion, so make sure that your team units that cannot endure this attack are not reachable by it. Mauvier’s attack damage are not too big so try to avoid getting hit by Marni’s Blazing Lion to survive Mauvier’s attack. Both Marni and Mauvier are more stronger now than the past chapters but they still do the same fight as the previous chapters. Marni is carrying one Revive stone so you have to take her down twice while Mauvier is carrying two Revive stone, meaning you have to defeat Mauvier three times to take him down completely. Focus on one of the boss enemy so that you will not have difficult time defeating the other one. Defeat Marni first with your anti-armor attacks and magic user’s team units to take her down since she is more a threat than Mauvier. Attack Mauvier with your anti-cavalry weapons like Ridersbane then keep your armored team units away from his attack since Mauvier is equipped with Emblem Macaiah who use’s magic to attack.
More enemies will be coming from the east but you don’t need to defeat those enemies since their still far from your position and they cant attack you and your team units, focus on defeating Marni and Mauvier to
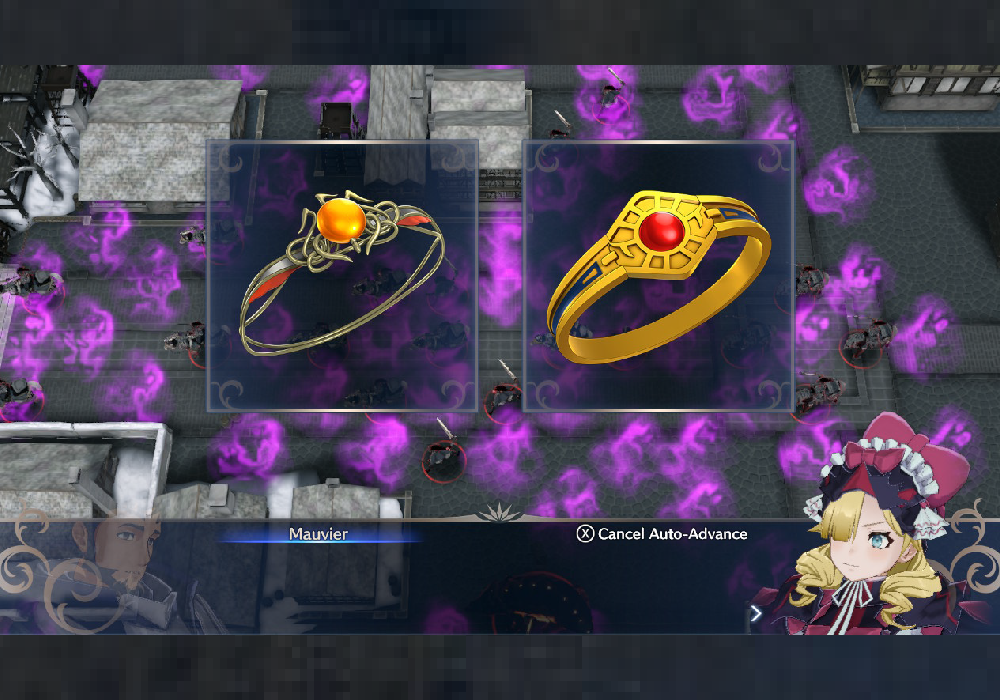
win the game. Once you defeat both you will win the game. By defeating Marni, you will obtain a Goddess Icon.
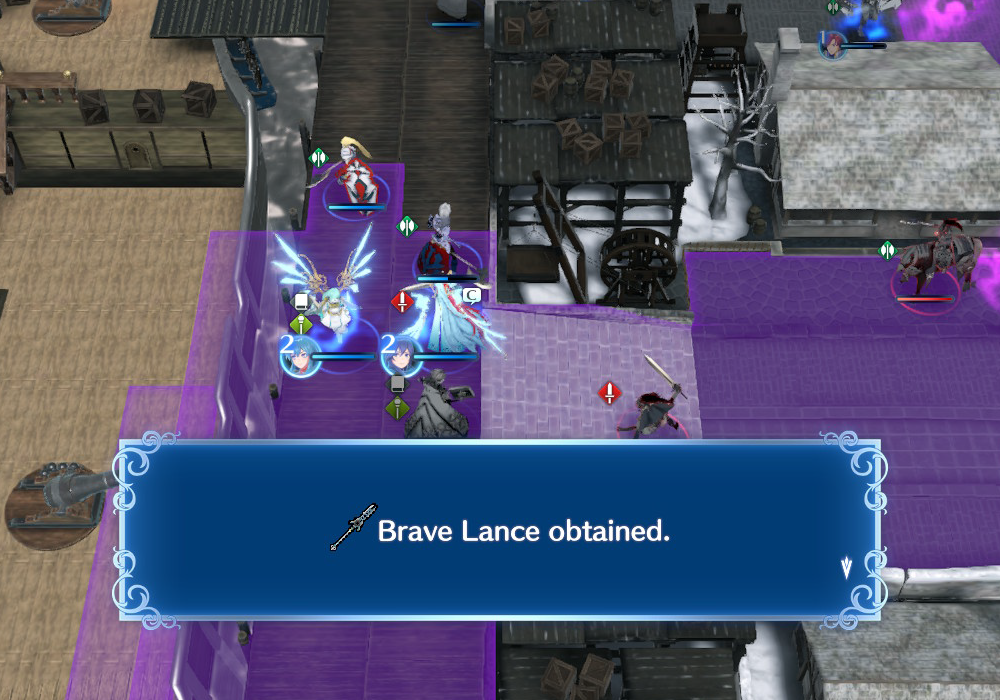
While defeating Mauvier, you will obtain a Brave Lance.
Then both Emblem Macaiah and Emblem Roy will be joining you again, after some exploration, you can return to Somniel for other activities or you can now continue the story on Chapter 20 – The Kingless Castle.